Up your ‘coffee at home’ game with our foamed milk guide
One of the key components to our creamy, silky-smooth milk-based coffees (and hot chocolates!) at our coffeshops is the dense micro-foam we create in the steamed milk. It helps carry the flavour of the drinks and has a rich mouthfeel.
And whilst it’s a tad more difficult to completely replicate this at home without a high pressured steam wand from an espresso machine or a dedicated milk-frother gadget for that matter, that doesn’t mean it’s impossible!
Here we have a couple of solutions to help you make that foamy coffee you’ve been craving, with minimal cost…

The Cafetière/French Press Method
Possibly the most energetic method we’ll be discussing, the very same cafetière that you used to make that damn fine coffee in can also be used to whip up some seriously dense, foamy milk (with a little practice).
You’ll need
Cafetière/French Press
Hot milk
NOTE
You can use any milk of your choice, we used Minor Figures Oat M*lk - it’s foam-ability helps get the texture we are looking for.
To heat the milk you can gently heat in a saucepan on the hob or in a (microwaveable) jug in the microwave. Stir it regularly and use a temperature probe to ensure it is hot enough, but not at risk of burning - we are looking for 65-70 degrees Celsius.
You can use this method to create foamy hot chocolate from our hot chocolate brew guide too; either foam the hot milk before adding it to our choc drops, or follow our brew guide to the end and foam the hot chocolate just before drinking! (Just replace ‘milk’ for ‘hot chocolate’ in the following method or you decide to do the latter)
Top Tips to consider
TAKE CARE - you’ll be handing hot liquids in a (likely) glass vessel.
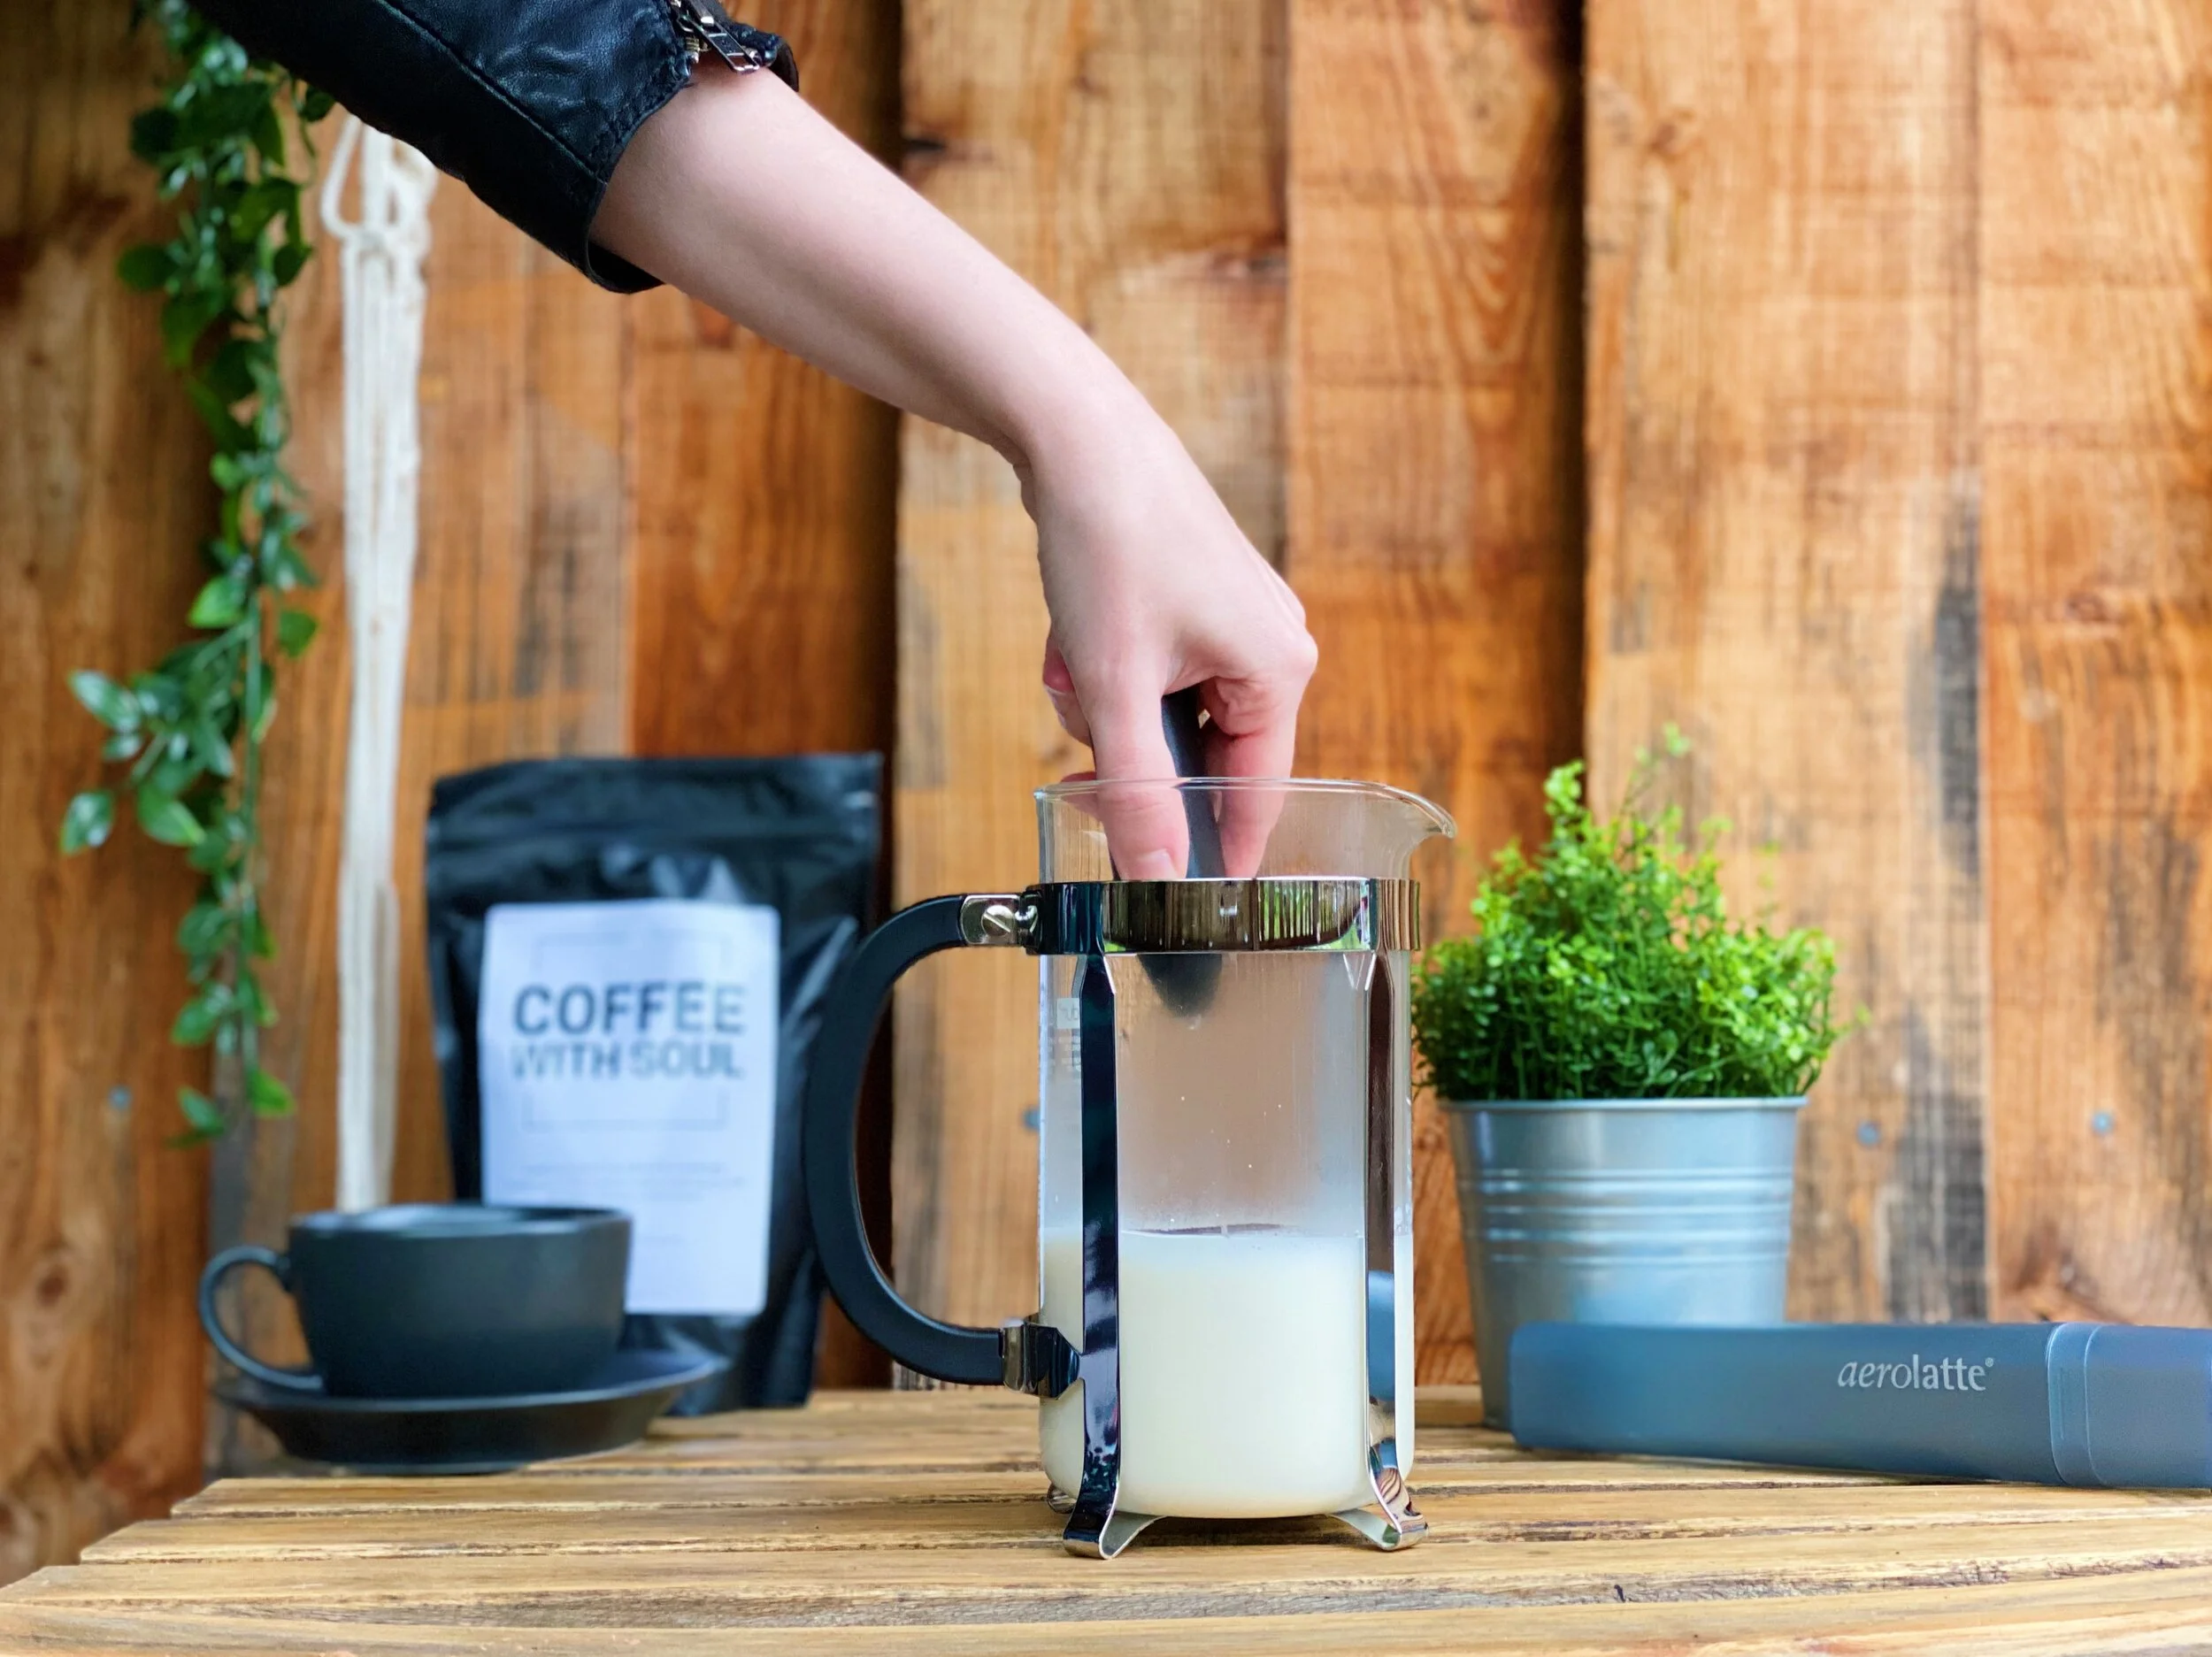
Do not overfill the cafetière! The milk should be no more than a third of the total capacity - this allows for room for the foam, but mostly importantly to avoid the risk of spillages which could result in burns.
Method
Optional - pre-heat the cafetière by pouring some hot water slowly into the cafetière. Do not pour too fast or else you’ll risk cracking the glass if it is exceptionally cold. Pour this water away before you add the milk in the next step
Take your hot milk straight from the pan/microwave and pour it into a clean cafetière - fill it no more than a third of the cafetière’s capacity
Put the cafetière lid on with the plunger above the milk. Make sure the cafetière is sealed and the heat stays in by turning the lid to the seal side (opposed to the side you pour from)
Carefully and smoothly, though with some slight speed, move the plunger repeatedly up and down through the milk - this introduces to air to create some foam.
Keep ‘whisking’ the milk until you have your desired amount of foam - the more you whisk within the foam the higher chance you have of creating the small, dense bubbles which we are looking for for a tasty drink. Within a minute you should be able to double the volume of milk within the cafetière.
From here you can turn the lid to the pouring side and pour your foamed milk over your coffee/chocolate drops etc
Enjoy your foamy drink at home!

Using a handheld milk frother
This is a super clean method with minimal labour compared to the cafetière method above, ie it’s quick, though it is harder to achieve the volume of dense micro-foam that say, a cappuccino, needs. However it’s alright to foam up some milk for a latte.
Additionally handheld milk-frothers are fairly inexpensive compared to automated milk-frothers (that usually heat the milk for you too) and can have multiple uses making them a handy gadget to have in the kitchen.
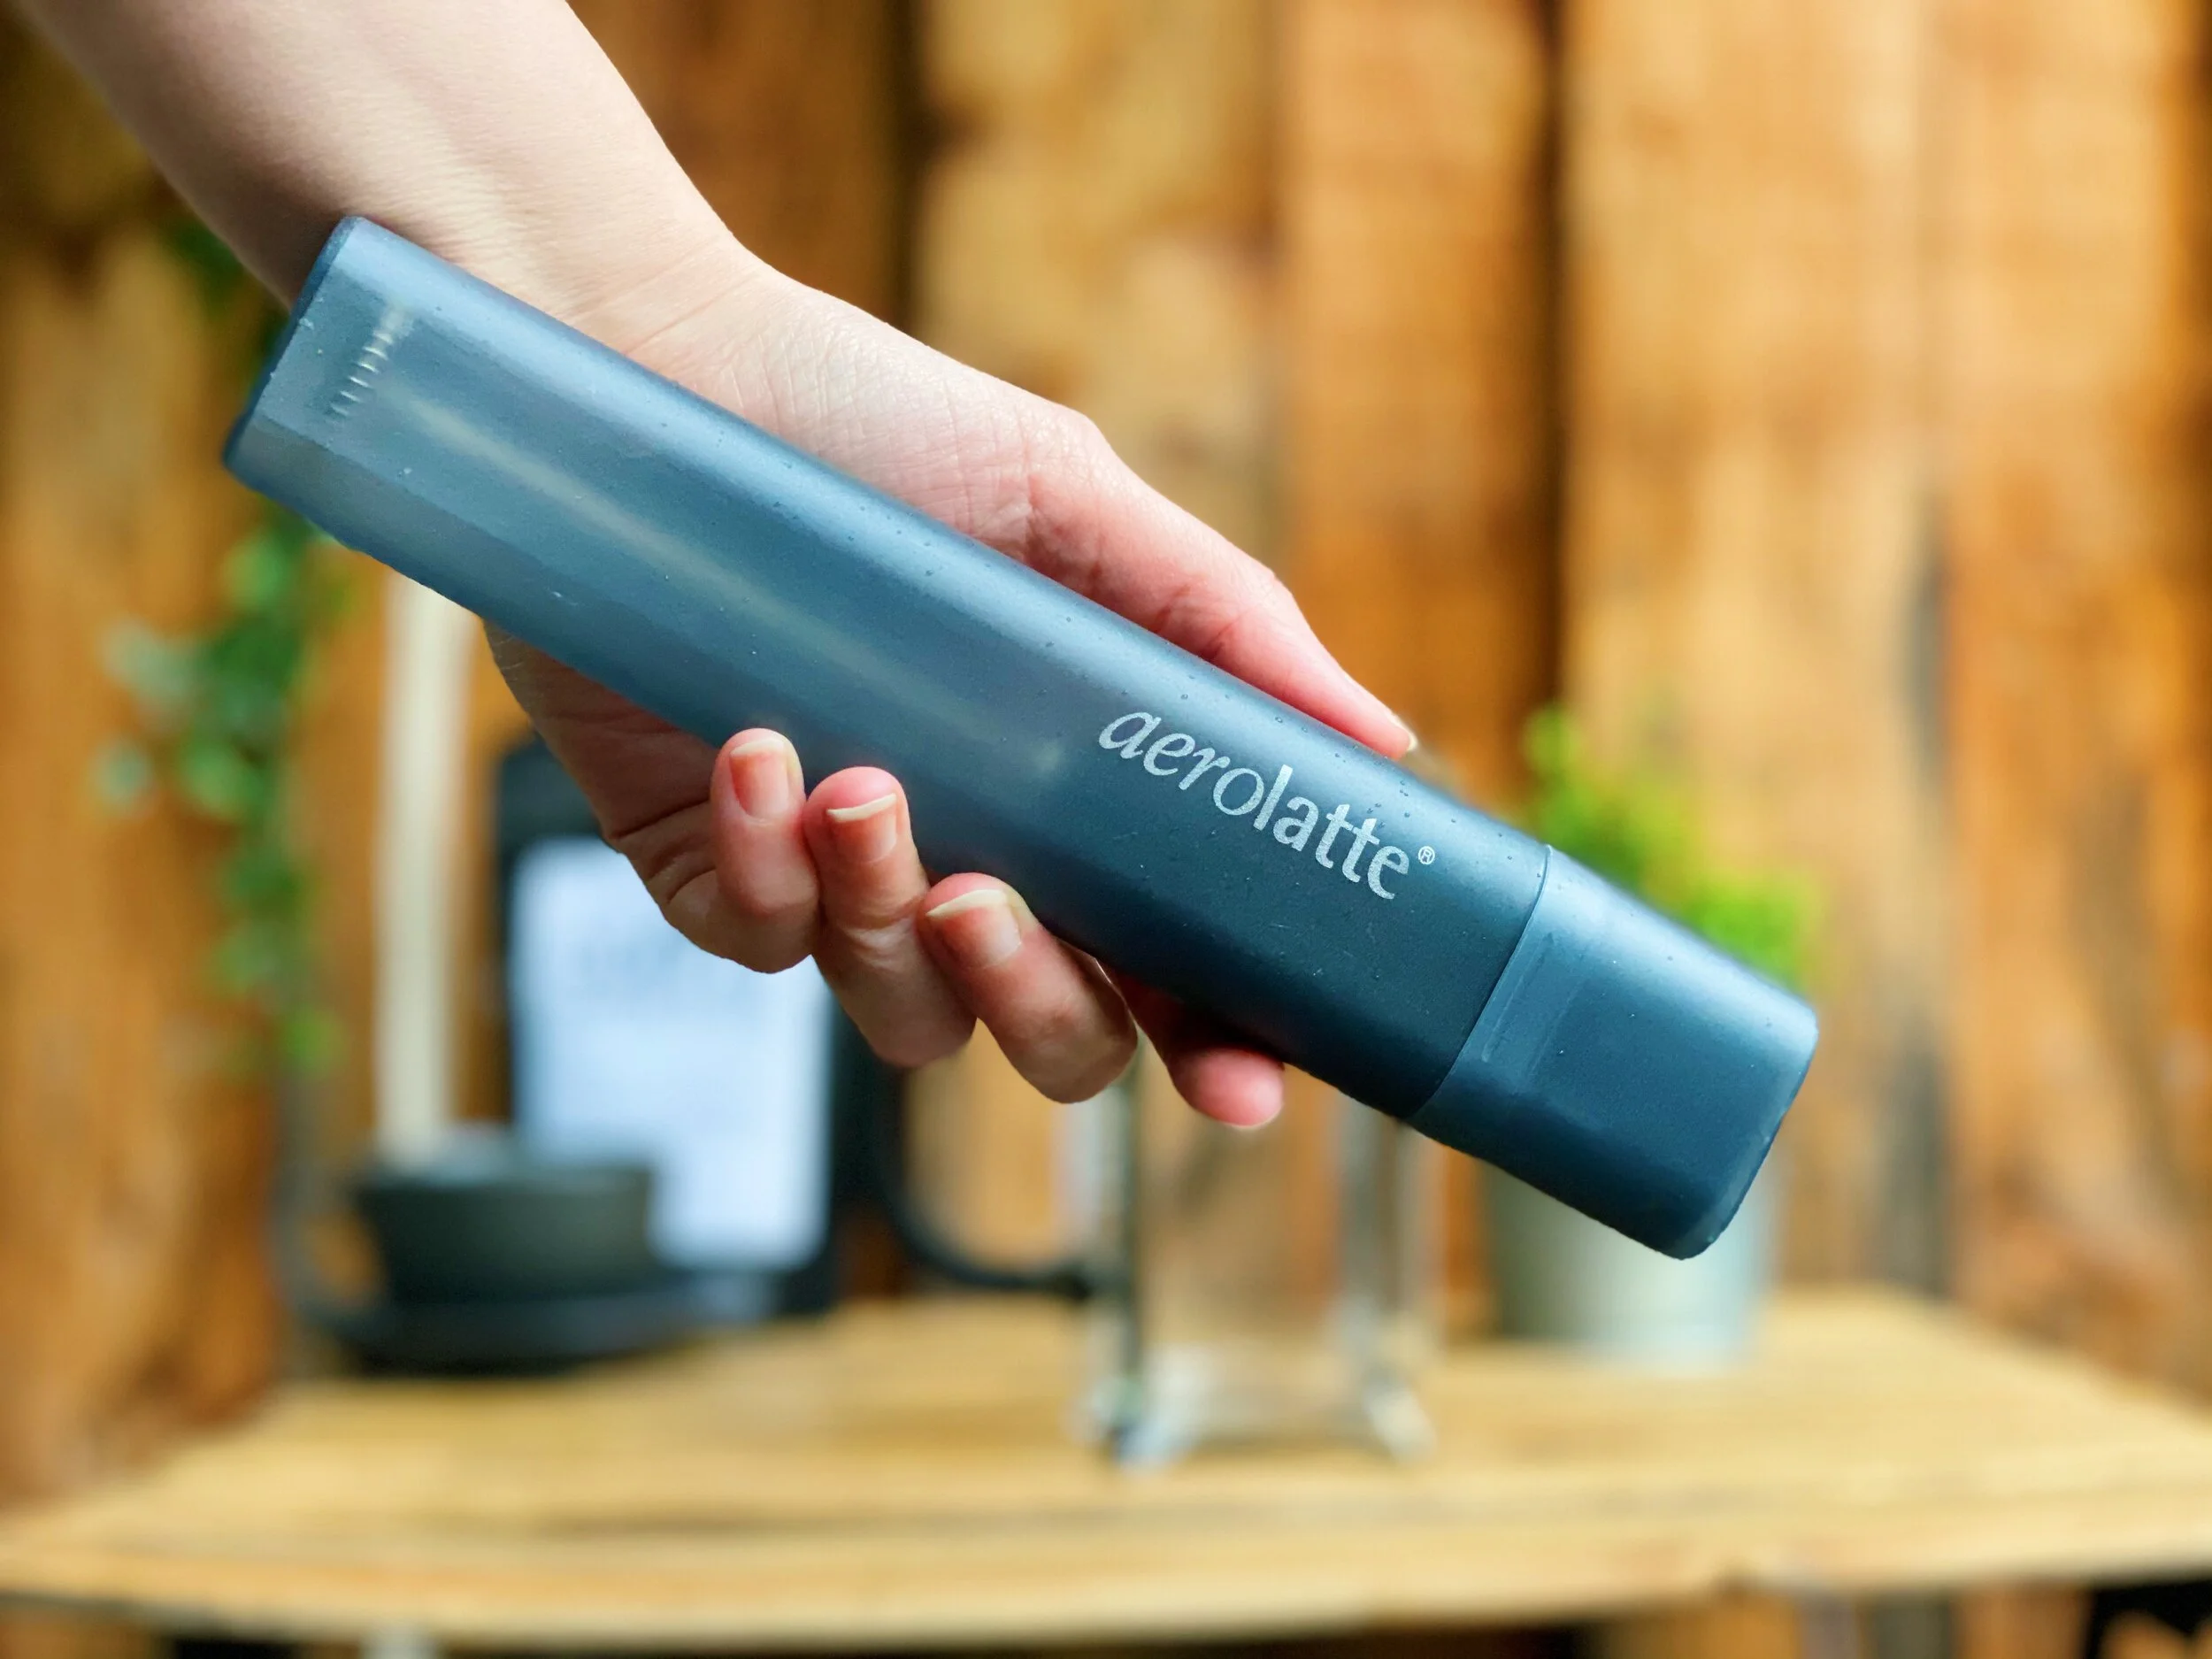
We used an ‘Aerolatte’ that we picked up for around £10, they’re widely available and there are similar products made by competitors that we hear are just as good.
NB We’ve used a cafetière as a clear jug to foam the milk in for photography purposes as we didn’t have any other clear vessels to hand (lockdown problems)!
You’ll need
Aerolatte (or similar handheld automatic milk-frother/whisk)
Hot milk
NOTE
You can use any milk of your choice, we used Minor Figures Oat M*lk - it’s foam-ability helps get the texture we are looking for.
To heat the milk you can gently heat in a saucepan on the hob or in a (microwaveable) jug in the microwave. Stir it regularly and use a temperature probe to ensure it is hot enough, but not at risk of burning - we are looking for 65-70 degrees Celsius.
You can use this method to create foamy hot chocolate from our hot chocolate brew guide too; either foam the hot milk before adding it to our choc drops, or follow our hot choc brew guide to the end and foam the hot chocolate just before drinking! (Just replace ‘milk’ for ‘hot chocolate’ in the following method or you decide to do the latter)
Top Tips to consider
TAKE CARE - you’ll be handing hot liquids.
Method
Take your hot milk straight from the pan/microwave and pour it into a clean jug or large cup
Put the Aerolatte into the middle of milk, about half way down and turn on.
Move the Aerolatte around to whisk the milk which introduces air to create foam
Keep ‘whisking’ the milk until you have your desired amount of foam - please note it is hard to create vast volumes of dense, wet foam.
From here you can pour your foamed milk over your coffee/chocolate drops etc
Enjoy your foamy drink at home!