
Get the most out of our Coffee With Soul Beans in your Aeropress at home with our suggested brew guide
It’s important to say that brew methods are guides only! Play around to find what works best for your taste; the quantity of coffee and brew times can be tweaked slightly to make noticeable differences.

A Standard Aeropress Method
You’ll need
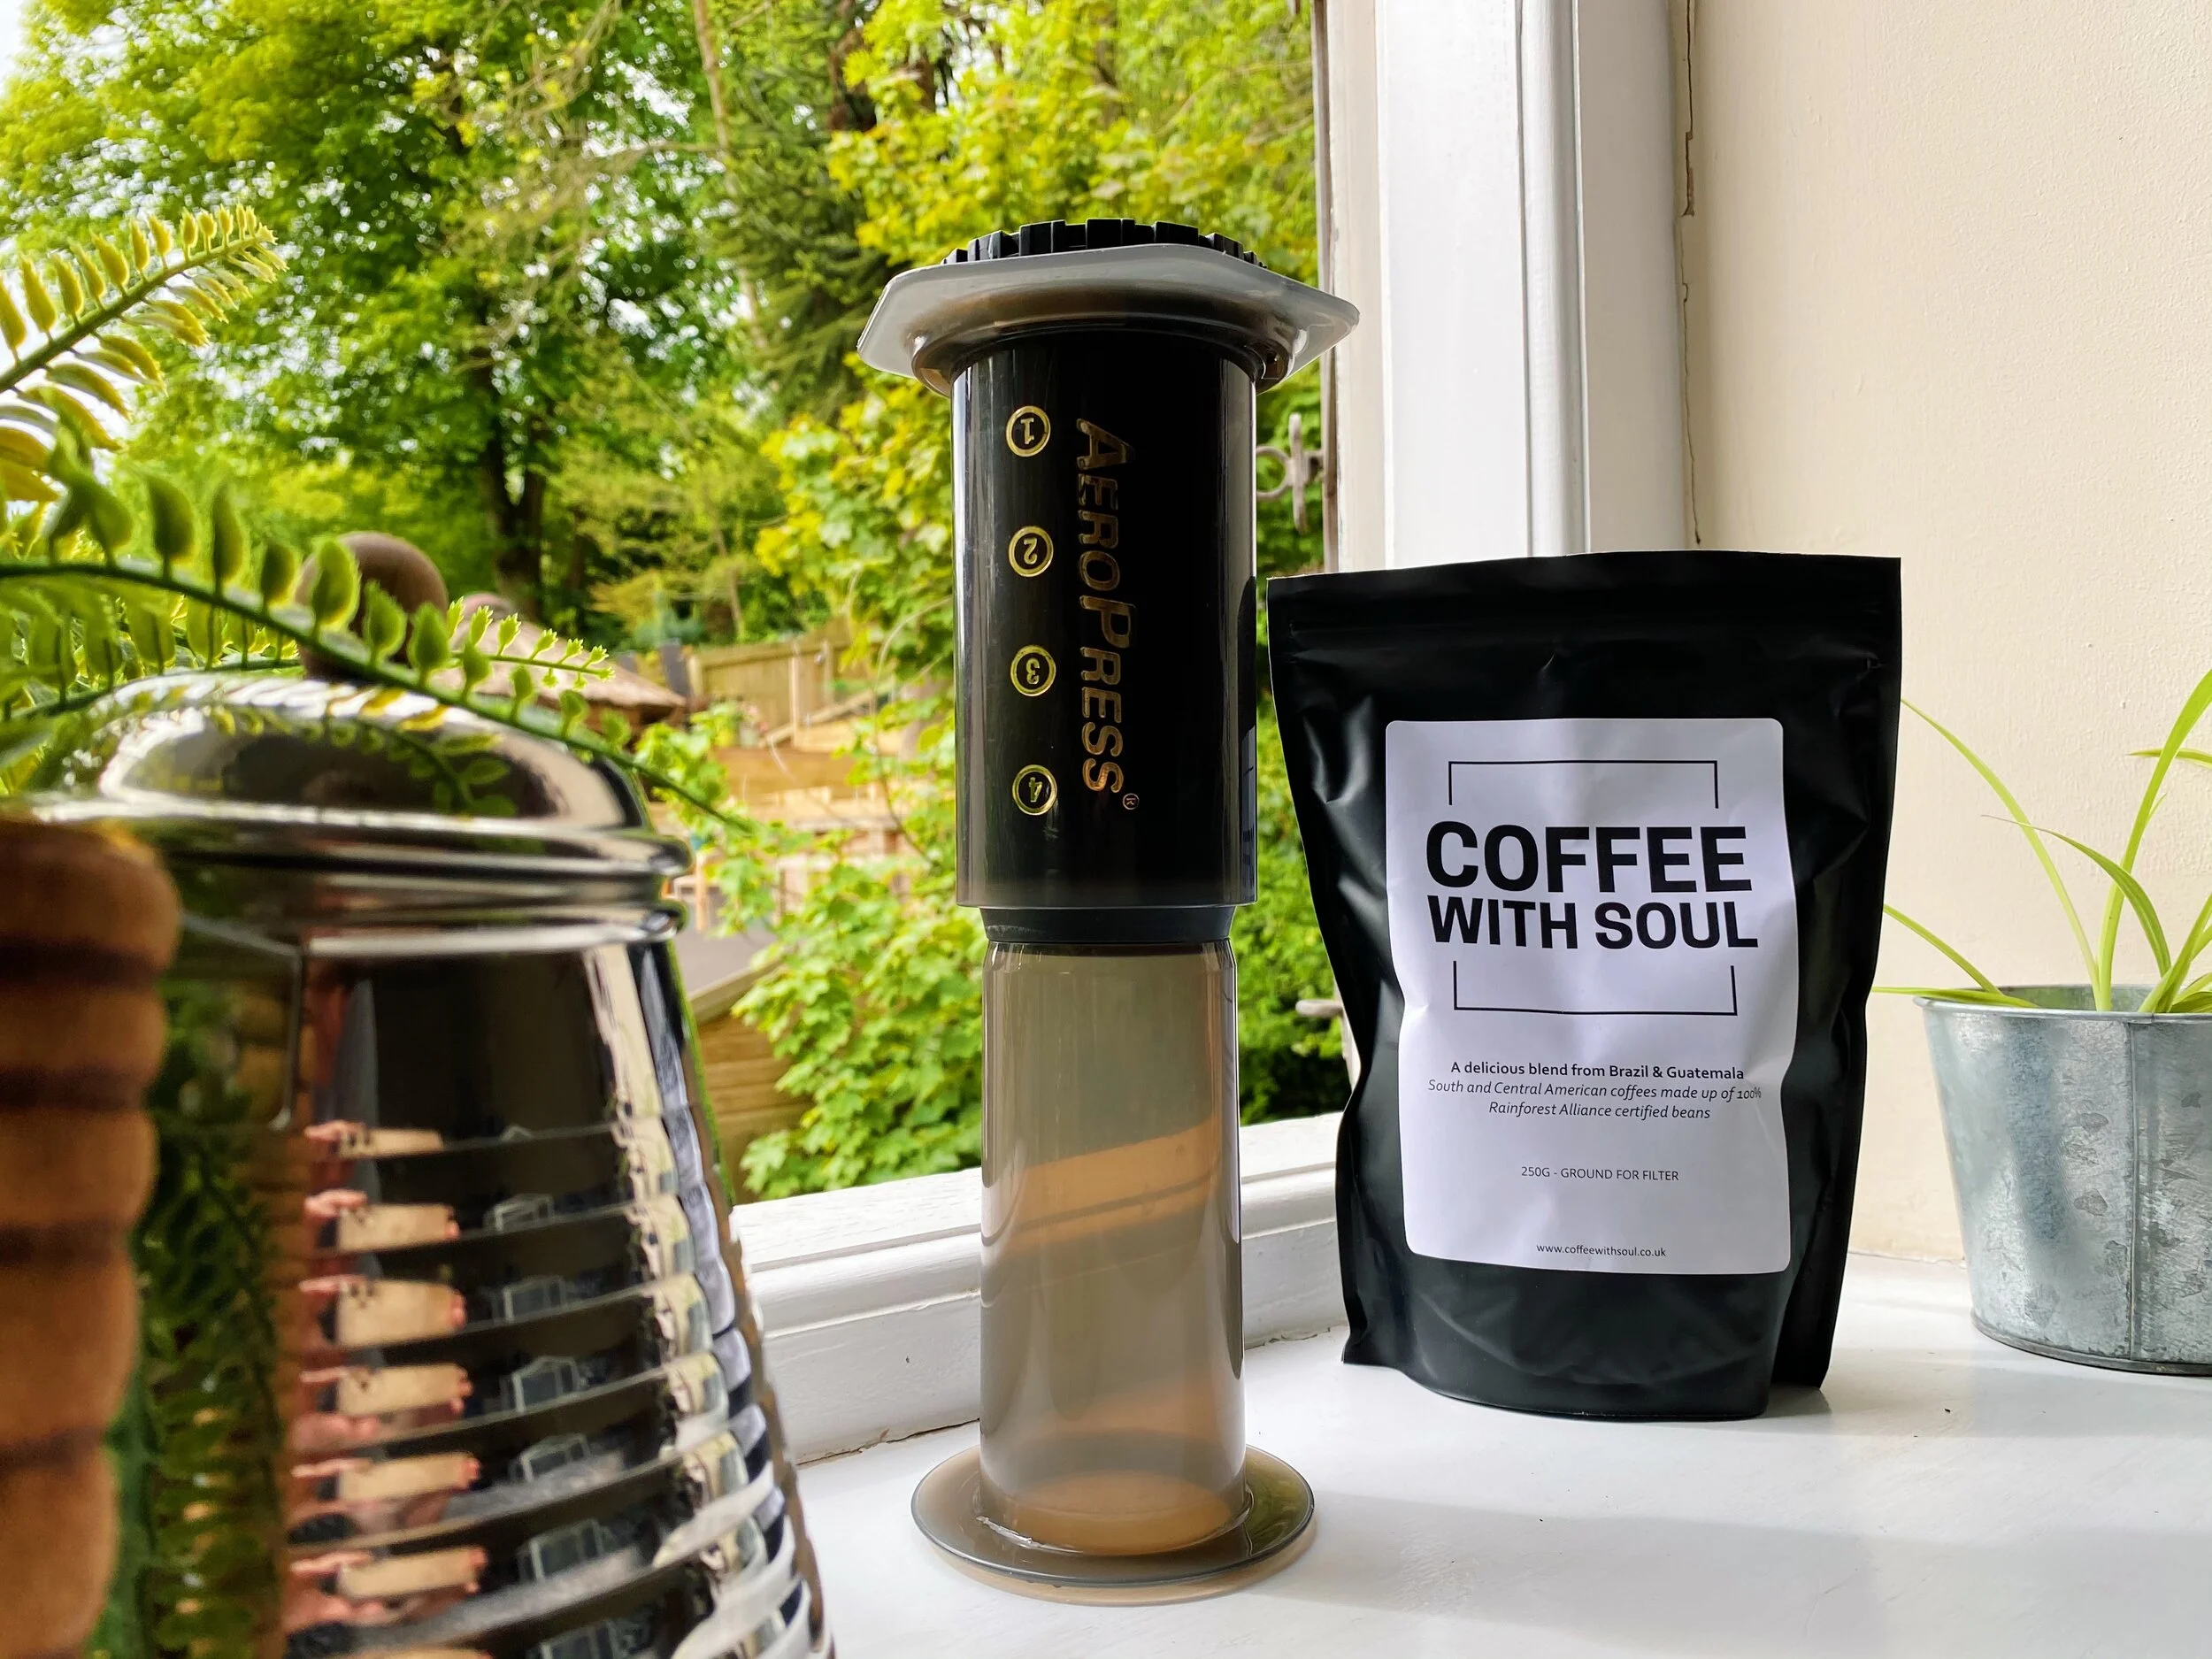
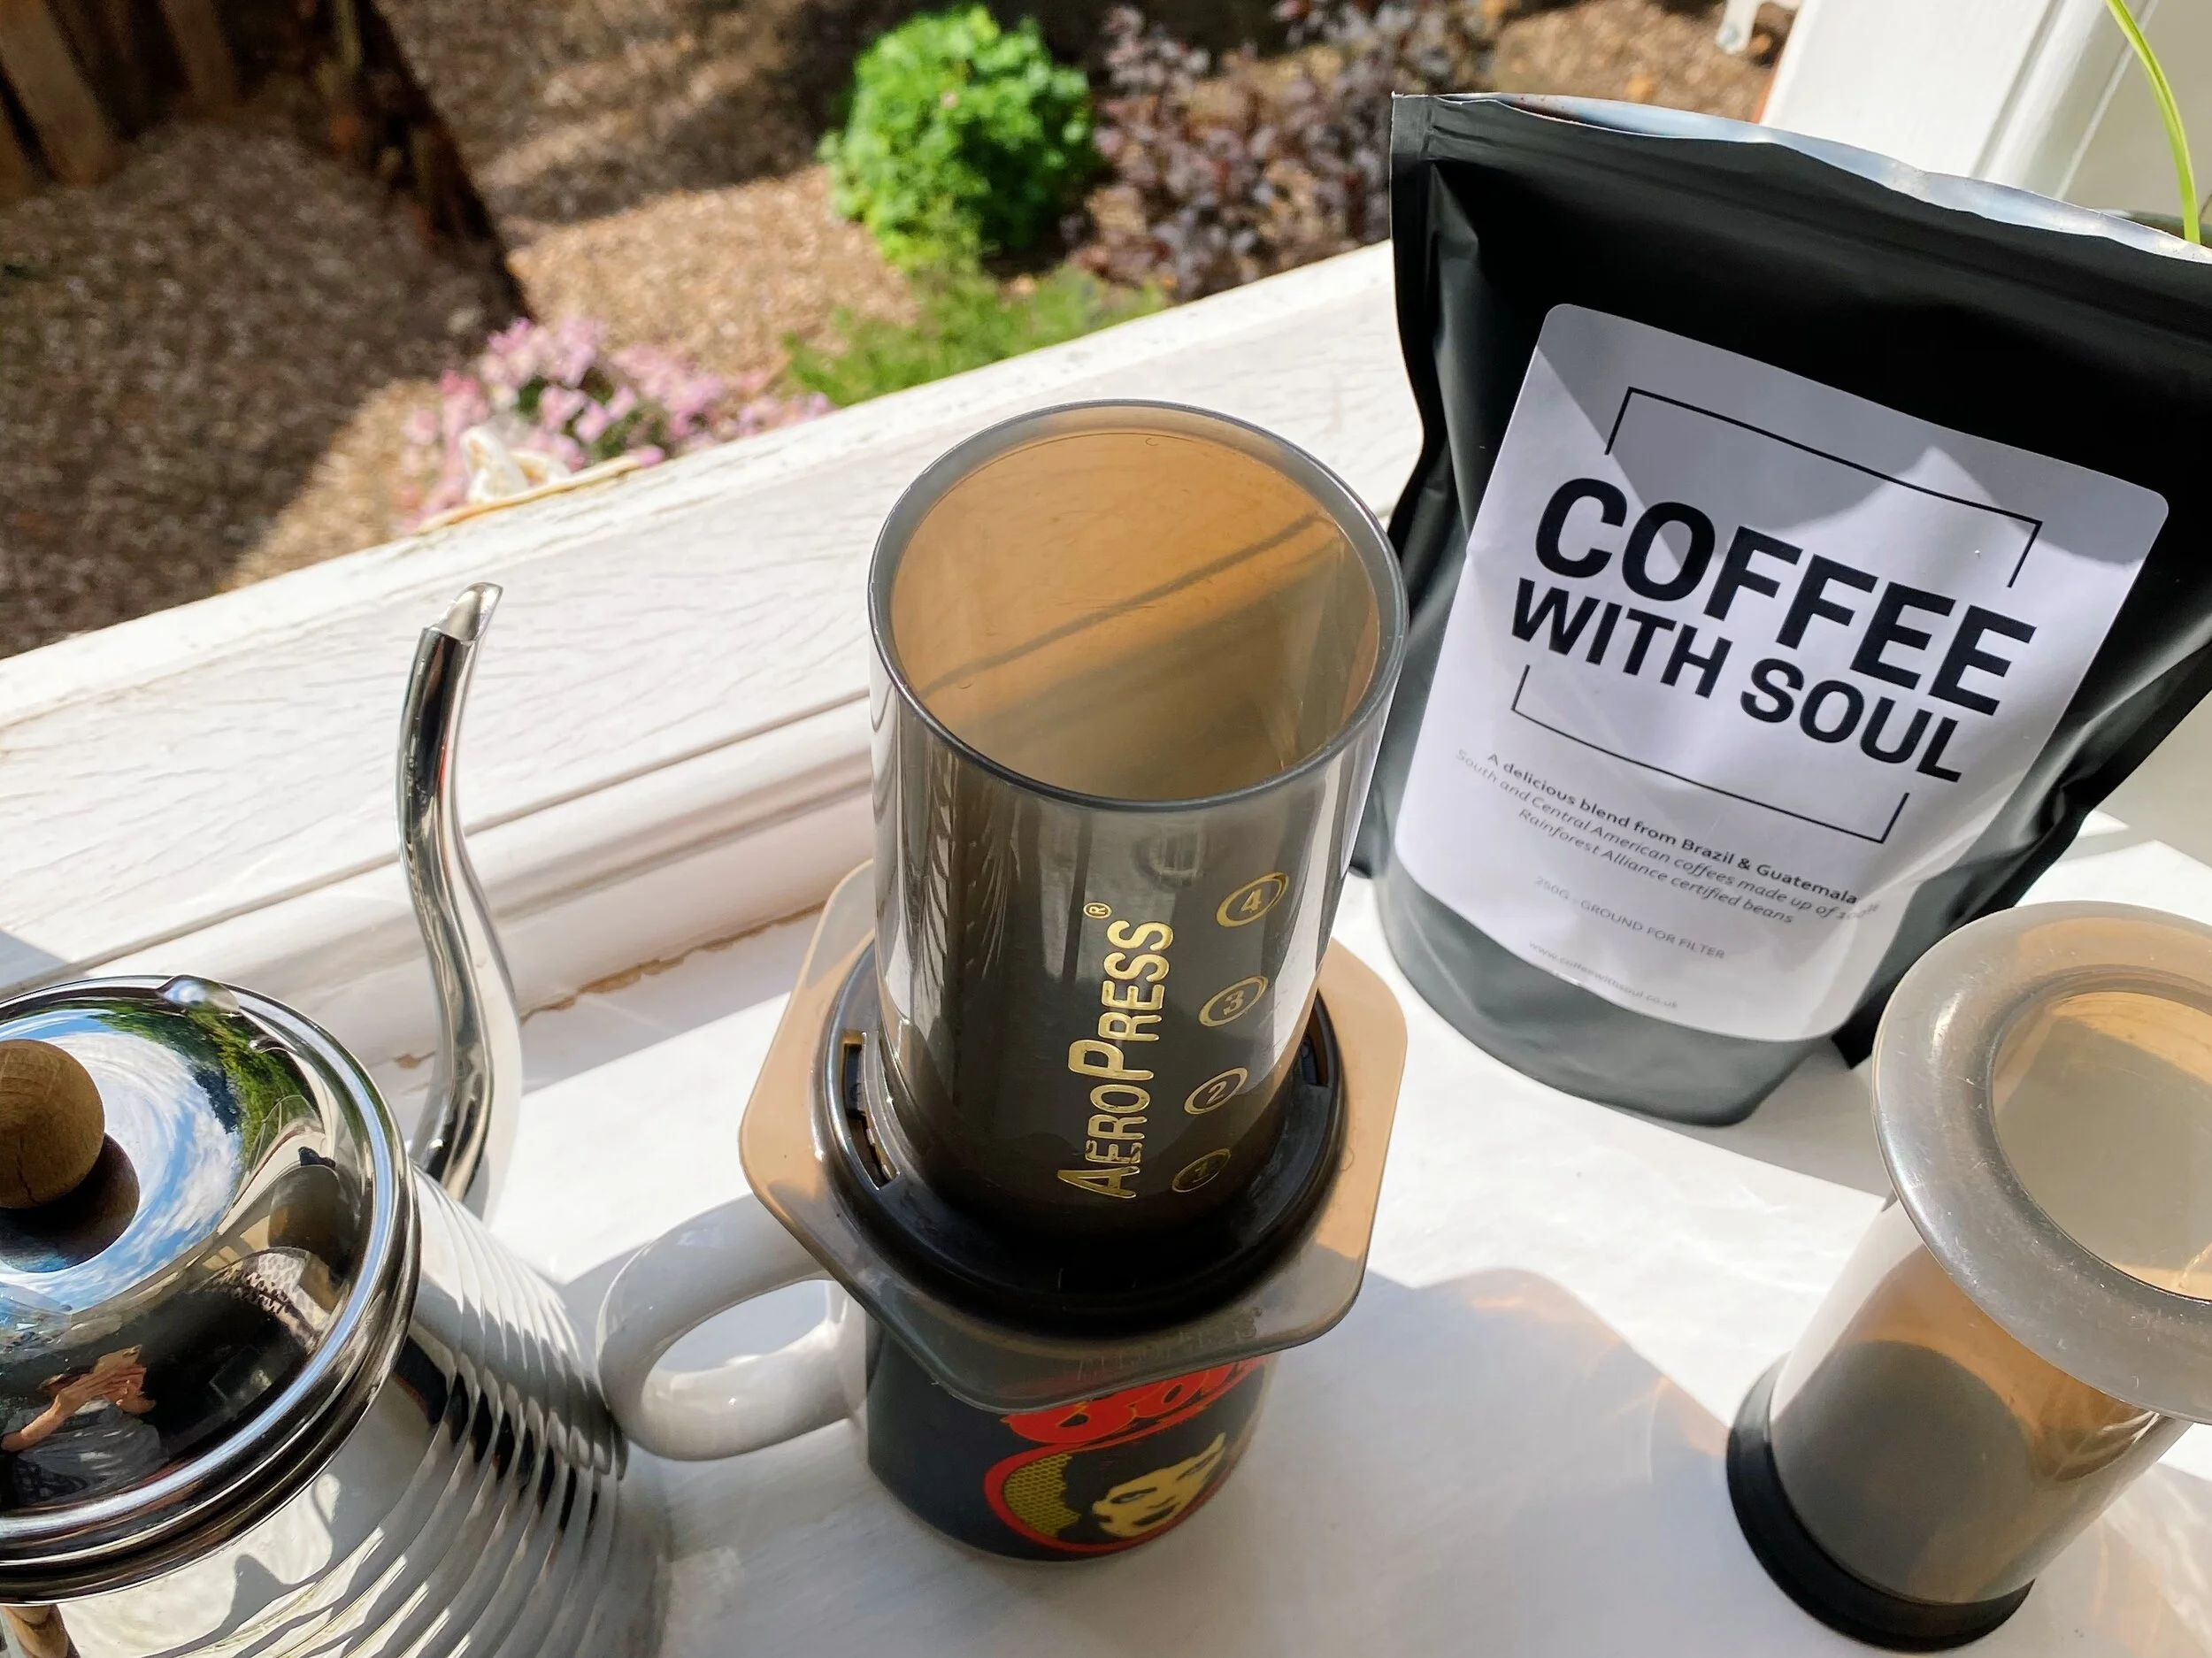
17g Medium to medium-fine ground coffee (you can buy ours here, we used the ‘ground for filter’ option)
Kettle
Measuring jug that you can pour from
Aeropress
Aeropress paper filter, or a compatible metal filter*
Digital scales
Timer
Aeropress paddle/tablespoon/stirring utensil
NOTE
An Aeropress comes with a scoop for measuring the coffee and a paddle for mixing. And though a heaping scoop of our ground coffee is approximately 16/17g we’ve found using the scoop to measure out our coffee to have variable results and throughly recommend weighing the coffee instead, if you have scales to do so.
This is the standard, simple, ‘method! There are of course other measurements/guides, and we believe there is no ‘right or wrong way’ to brew an Aeropress coffee… Read on for our guide!
Method
Boil some water in a kettle, leave it to cool slightly whilst you prepare the rest of the coffee
Place your paper filter in the filter basket and wet the paper slightly. Screw this onto the Aeropress.
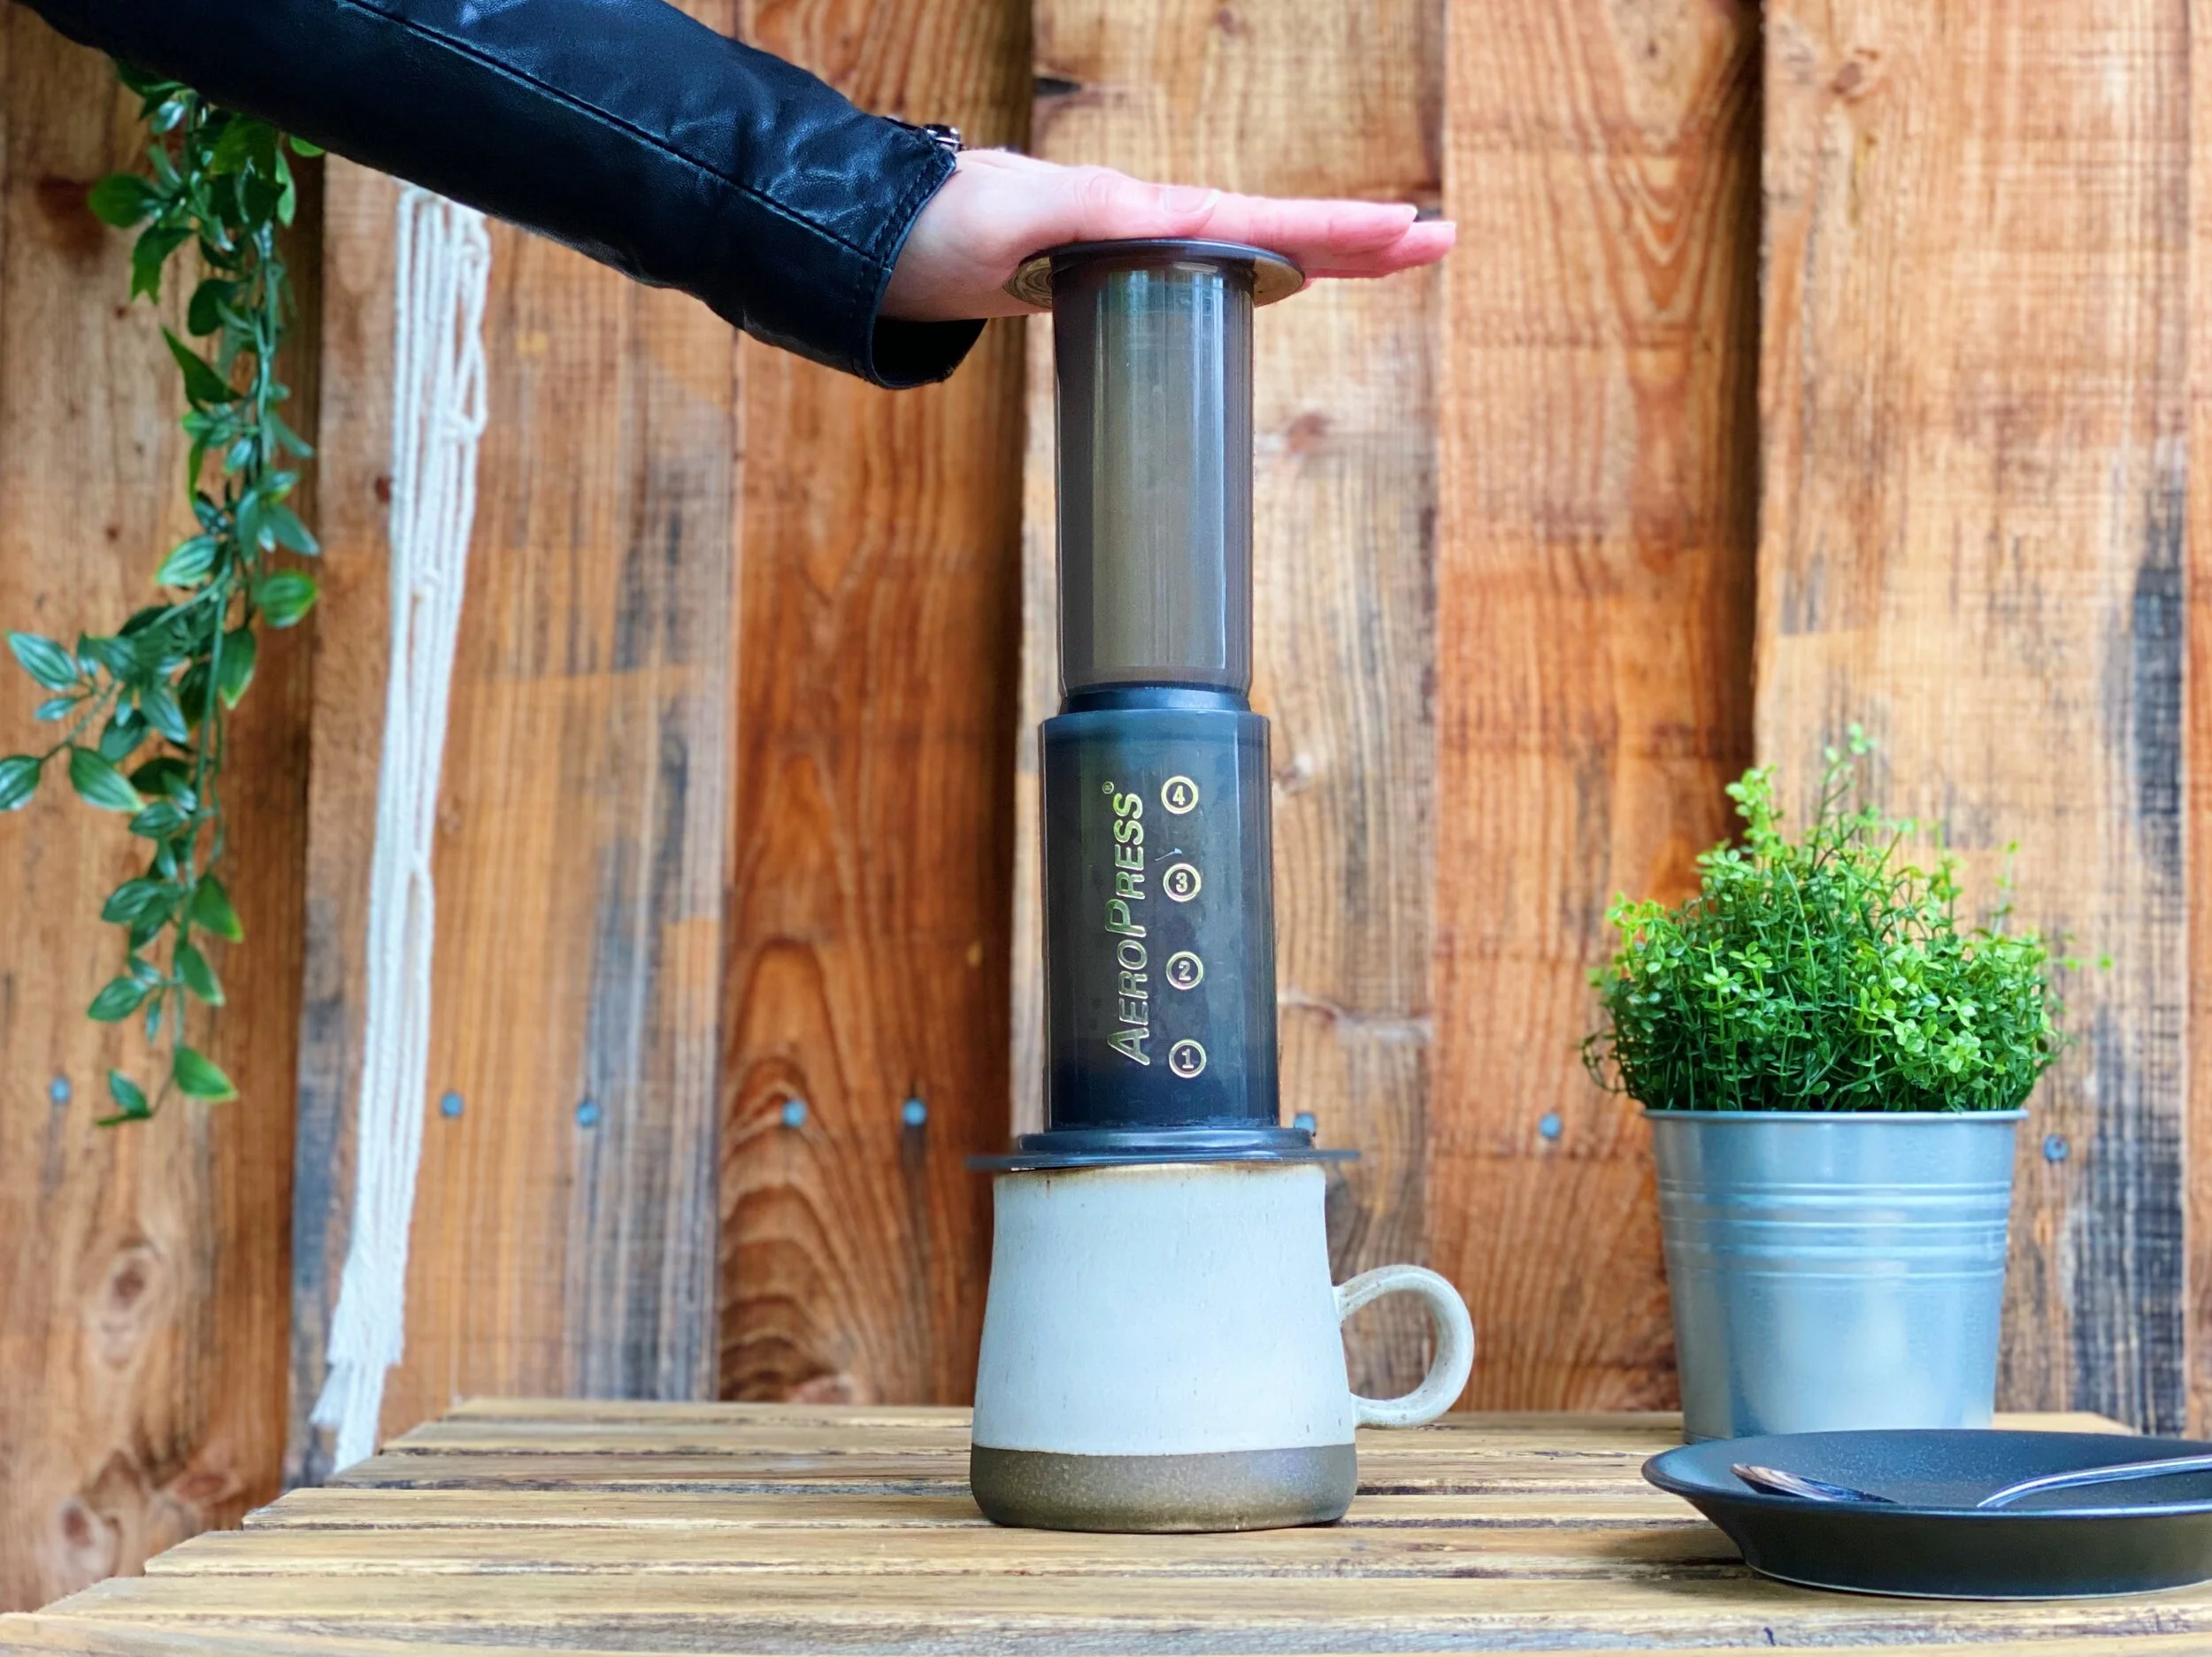
Place your Aeropress on your mug/cup/decanter
Optional - place the Aeropress funnel on top if you don’t want to risk spilling the grounds in the next step
Add the ground coffee to the Aeropress. We give it a little shake to level off
Measure out 240ml of water into a measuring jug/vessel you are comfortable pouring from
Start a timer for 1:30 and pour your hot water over the coffee, making sure all the grounds are covered, use all 240ml
Quickly place the plunger on top to create a seal and to stop the coffee filtering out too soon
At the end of 1:30 minutes, take the plunger off and stir the coffee with the paddle/tablespoon etc
Place the plunger back on and plunge the coffee carefully and evenly - aim to plunge within 15-20 seconds. Stop plunging just as you start to hear a hissing sound
Enjoy your coffee at home!
(Once you have finished, dispose of the Aeropress puck and used paper filter. Make sure you clean your Aeropress carefully in hot soapy water to rid the residual oils and do not store it with the rubber plunger inside the brewing chamber!)
Top Tips to consider
If you live in particularly hard water area, boiling filtered water can make for a ‘cleaner tasting’ brew!
Try using a metal filter* instead of a paper filter! We bought one after we’d used all the papers that the Aeropress came with. Not only is it more eco as it is reusable, it results in a slightly cleaner tasting cup
The freshness of the coffee can affect the taste, you may wish to adjust your brew method to your taste as the coffee ages. For example, if the coffee is too fresh (ideally you want to be brewing our coffee 7-10 days onwards after it’s roast date), you can adjust the brew by pouring the first part of the hot water on the dry grounds and leaving it to ‘bloom’ for longer that 30 seconds, before following the guide to slowly pour the rest of the water on. Or perhaps as the coffee ages you may wish to brew a little longer to draw some more of the flavour out
If using the Aeropress papers; try using two paper filters for better clarity - we like to do this for delicate, fruity coffees
For a fuller bodied cup you can continue the plunge of the coffee right until the end of the hissing sound
Inverted Aeropress Method
You may have seen us using the method at our coffeeshops, sometimes we test out new guest coffees this way. We opt for the inverted method in these cases because we believe having the coffee grounds fully immersed in water before brewing makes for more consistent brews, especially when comparing different beans.
When it comes to brewing at home, we believe either this way or the standard way (as above) work just as well; there are dozens of articles on the internet that argue out the differences between the two methods, but we’ll leave that for you to discover and decide yourself if you believe there to be any differences worthy of note.
You’ll need
17g Medium to medium-fine ground coffee (you can buy ours here, we used the ‘ground for filter’ option)
Kettle
Measuring jug that you can pour from
Aeropress
Aeropress paper filter, or a compatible metal filter*
Digital scales
Timer
Aeropress paddle/tablespoon/stirring utensil
NOTE
An Aeropress comes with a scoop for measuring the coffee and a paddle for mixing. And though a heaping scoop of our ground coffee is approximately 16/17g we’ve found using the scoop to measure out our coffee to have variable results and throughly recommend weighing the coffee instead, if you have scales to do so.
This is our standard, simple, ‘inverted method’! There are of course other measurements/guides, and we believe there is no ‘right or wrong way’ to brew an Aeropress coffee… Read on for our guide!
Method
Boil some water in a kettle, leave it to cool slightly whilst you prepare the rest of the coffee
Place your paper filter in the filter basket and wet the paper slightly. Put this aside for now, we’ll be screwing this onto the Aeropress later.
Place your Aeropress plunger inside the Aeropress brewing chamber, near the top (just above the number 4)
Turn your Aeropress upside down so it stands on it’s end, with the number 4 nearest the table.
Optional - place the Aeropress funnel on top if you don’t want to risk spilling the grounds in the next step
Add the ground coffee to the Aeropress. We give it a little shake to level off
Measure out 240ml of water into a measuring jug/vessel you are comfortable pouring from
Start a timer for 1:30 and pour your hot water over the coffee, making sure all the grounds are covered, use all 240ml if you can but do not overfill the chamber
Give the coffee a stir with the tablespoon/Aeropress Paddle for ten seconds
Hold the Aeropress at the point with the brew chamber and the plunger meet and screw the Aeropress filter basket (with the filter inside) on to the Aeropress
At the end of 1:30 minutes, gently place your mug/cup/decanter upside down on top of the Aeropress filter basket, hold the Aeropress at the point with the brew chamber and the plunger meet and carefully flip your Aeropress the right way up so it is resting on your mug/cup/decanter
Begin to plunge the coffee carefully and evenly - aim to plunge within 15-20 seconds. Stop plunging just as you start to hear a hissing sound
Enjoy your coffee at home!
(Once you have finished, dispose of the Aeropress puck and used paper filter. Make sure you clean your Aeropress carefully in hot soapy water to rid the residual oils and do not store it with the rubber plunger inside the brewing chamber!)
Top Tips to consider
If you live in particularly hard water area, boiling filtered water can make for a ‘cleaner tasting’ brew!
Try using a metal filter* instead of a paper filter! We bought one after we’d used all the papers that the Aeropress came with. Not only is it more eco as it is reusable, it results in a slightly cleaner tasting cup.
The freshness of the coffee can affect the taste, you may wish to adjust your brew method to your taste as the coffee ages. For example, if the coffee is too fresh (ideally you want to be brewing our coffee 7-10 days onwards after it’s roast date), you can adjust the brew by pouring the first part of the hot water on the dry grounds and leaving it to ‘bloom’ for longer that 30 seconds, before following the guide to slowly pour the rest of the water on. Or perhaps as the coffee ages you may wish to brew a little longer to draw some more of the flavour out.
If using the Aeropress papers; try using two paper filters for better clarity - we like to do this for delicate, fruity coffees
For a fuller bodied cup you can continue the plunge of the coffee right until the end of the hissing sound
‘Espresso’ Method
Technically this isn’t really making an espresso, but a short, intense dose of brewed coffee that you could drink on it’s own, or add hot water or steamed/foamed milk to it. It also works well as a base for iced coffees! For this method you’ll need a fine ground coffee, unlike the methods above which use a coarser grind.
To brew this, we prefer to use use the Aeropress inverted, similar to the method outlined above, to ensure that all the coffee grounds are fully immersed in the water.
You’ll need
25g Fine ground coffee (you can buy ours here, we used the ‘ground for espresso’ option)
Kettle
Measuring jug that you can pour from
Aeropress
Aeropress paper filter, or a compatible metal filter*
Digital scales
Timer
Aeropress paddle/tablespoon/stirring utensil
NOTE
An Aeropress comes with a scoop for measuring the coffee and a paddle for mixing. For this method however you will need to measure out the coffee using scales, as even slight variations can affect the flavour.
This is our ‘espresso’ Aeropress method. There are of course other measurements/guides (which vary widely!) and we believe there is no ‘right or wrong way’ to brew an Aeropress coffee… Read on for our guide!
Method
Boil some water in a kettle, leave it to cool slightly whilst you prepare the rest of the coffee
Place your paper filter in the filter basket and wet the paper slightly. Put this aside for now, we’ll be screwing this onto the Aeropress later
Place your Aeropress plunger inside the Aeropress brewing chamber, near the top lined up with the number 4
Turn your Aeropress upside down so it stands on it’s end, with the number 4 nearest the table.
Optional - place the Aeropress funnel on top if you don’t want to risk spilling the grounds in the next step
Add the ground coffee to the Aeropress. We give it a little shake to level off
Measure out 80ml of water into a measuring jug/vessel you are comfortable pouring from, a goosneck kettle is ideal if you have one
Pour about a third of the water slowly onto the coffee grounds, wait for a few seconds and then mix the coffee a little to ensure all the grounds are wet
Start a timer for 0:45
Continue to pour the rest of your hot water slowly over the coffee, making sure all the grounds are covered
Hold the Aeropress at the point with the brew chamber and the plunger meet and screw the Aeropress filter basket (with the filter inside) on to the Aeropress
At the end of 0:45 timer, gently place your mug/cup/decanter upside down on top of the Aeropress filter basket, hold the Aeropress at the point with the brew chamber and the plunger meet and carefully flip your Aeropress the right way up so it is resting on your mug/cup/decanter
Begin to plunge the coffee carefully and evenly - aim to plunge within 15-20 seconds. Stop plunging just as you start to hear a hissing sound
Enjoy your coffee at home - either as a concentrated ‘espresso like’ drink, or as your drink of choice by adding hot water/milk (hot or iced)/foamed milk to taste!
(Once you have finished, dispose of the Aeropress puck and used paper filter. Make sure you clean your Aeropress carefully in hot soapy water to rid the residual oils and do not store it with the rubber plunger inside the brewing chamber!)
Top Tips to consider
If you live in particularly hard water area, boiling filtered water can make for a ‘cleaner tasting’ brew!
Try using a metal filter* instead of a paper filter! We bought one after we’d used all the papers that the Aeropress came with. Not only is it more eco as it is reusable, it results in a slightly cleaner tasting cup.
The freshness of the coffee can affect the taste, you may wish to adjust your brew method to your taste as the coffee ages. For example, if the coffee is too fresh (ideally you want to be brewing our coffee 7-10 days onwards after it’s roast date), you can adjust the brew by pouring the first part of the hot water on the dry grounds and leaving it to ‘bloom’ for longer that 30 seconds, before following the guide to slowly pour the rest of the water on. Or perhaps as the coffee ages you may wish to brew a little longer to draw some more of the flavour out.
For a fuller bodied cup you can continue the plunge of the coffee right until the end of the hissing sound

There are so many other Aeropress recipes to try, we won’t list them here as we can’t take credit for them and this guide would be never ending! Have fun exploring the online world of Aeropress brewing and experiment until your heart is content.